
Injection Mold Components: Understanding The Structure
Injection mold components form an assembly of mechanical and thermal subsystems that shape resin, control flow, cool the part, and support ejection. Understanding how the components interact helps teams review tooling risks and diagnose production issues. The exact configuration and sourcing route depend on the part and project; see our manufacturing capabilities for the broader delivery model.
What are the core injection mold components?
The core injection mold components are functional subsystems that work together to facilitate material flow, part shaping, cooling, and part removal. They include the mold base, cavity and core, feed system, ejection system, cooling circuits, and vents.
Why do these systems matter?
Each part of the mold has a specific role in meeting project-defined critical dimensions and process requirements. Wear, damage, or poor adjustment in one component can affect quality or interrupt production, depending on the failure mode and tool design.
- Mold Base: The rigid framework.
- Molding System: The cavity and core.
- Feed System: The pathway for molten plastic.
Look: you cannot expect high-volume success without a robust mechanical foundation.
How do they interact?
Here is the deal: the feeding system delivers material to the molding system, which then requires the cooling system to solidify the part before the ejection system takes over.
- Precise timing is critical.
- Thermal balance prevents warping.
- Mechanical alignment stops flash.
Key Takeaway: Understanding these sub-systems allows you to diagnose production issues faster and ensure a smoother manufacturing process.
| System | Primary Function | Key Parts | |
|---|---|---|---|
| Mold Base | Structural Support | A/B Plates, Spacer Blocks | |
| Molding System | Part Shaping | Cavity, Core, Sliders | |
| Feeding System | Material Transport | Sprue, Runners, Gates |
The integration of these systems determines the mechanical integrity and longevity of the entire tool.
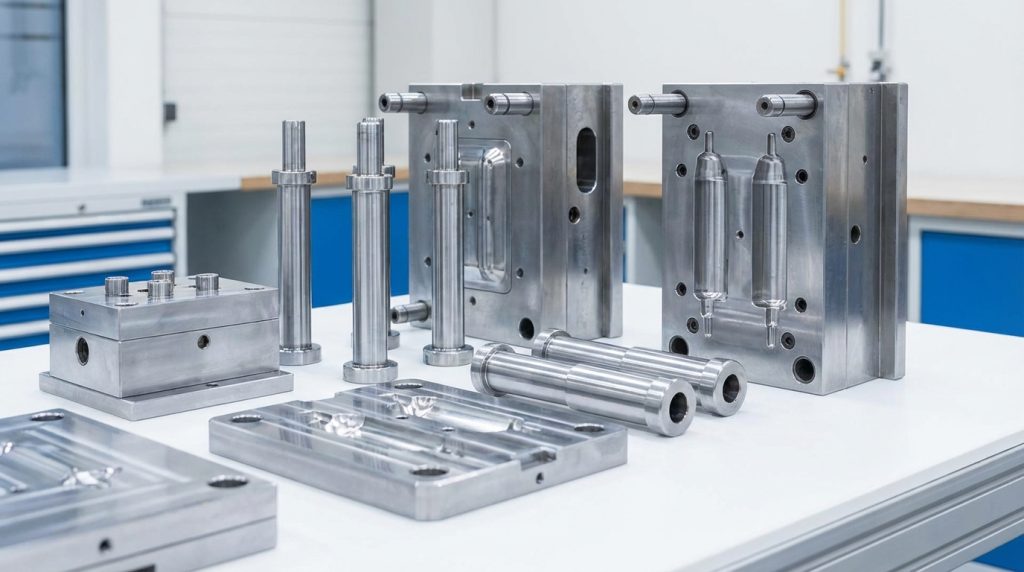
How does the base hold injection mold components?
The mold base acts as the semi-finished framework or “skeleton” that provides rigid structural support for all other injection mold components. It consists of various steel plates, such as the top clamp plate, A plate, B plate, and the rear clamp plate, which are bolted together to withstand immense clamping forces.
What is the role of plates?
The A and B plates house or support the cavity and core inserts. Their alignment, support, and fit must be controlled to the mold design so the parting surfaces close correctly and resist flash under the intended molding conditions.
- Top Clamp Plate: Secures the mold to the machine.
- A Plate: Holds the stationary cavity.
- B Plate: Houses the moving core.
The best part? Standardizing these bases allows for easier maintenance and faster mold changes.
Why are spacer blocks used?
Look: the spacer blocks, often called the C plate, create the necessary clearance for the ejection system to operate. Without this space, your ejector pins wouldn’t have the room to move forward and push the part out.
- Creates the “ejector box.”
- Supports the rear clamp plate.
- Dictates the maximum ejection stroke.
Key Takeaway: A high-quality mold base prevents plate deflection, ensuring your parts remain dimensionally accurate over thousands of cycles.
| Plate Name | Function | Material Priority | |
|---|---|---|---|
| A Plate | Cavity Support | High Hardness Steel | |
| B Plate | Core Support | High Hardness Steel | |
| C Plate | Spacing | Structural Steel |
Proper plate selection is the first step in avoiding mechanical failures under the high pressures of mass production.
Can feed systems guide injection mold components?
Yes, the feed system manages molten resin flow from the machine nozzle toward the mold cavities. It can include the sprue, runners, sub-runners, and gates, with the arrangement selected for the part, resin, mold layout, and production objectives.
How does the runner work?
Think about it: the runner is like a highway for plastic, and its design dictates how quickly and evenly the cavities are filled. If the runner is too small, you face pressure drops; if it is too large, you waste material.
- Sprue: The main entry channel.
- Runners: Distribution channels to cavities.
- Cold Slug Well: Captures the initial cold plastic.
But wait, there’s more: a well-designed runner system minimizes the “frozen-in” stresses that lead to part deformation.
What is the gate’s function?
Here is the deal: the gate is the most sensitive area because it controls the flow rate and when the material “freezes off” after injection. Choosing between a sub-gate or a pin-point gate depends entirely on your aesthetic and functional requirements.
- Controls fill time.
- Impacts part surface finish.
- Affects the ease of part degating.
Key Takeaway: Optimizing the feed system is essential for achieving a balanced fill, which prevents defects like short shots or air traps.
| Feed Element | Impact on Quality | Common Issue | |
|---|---|---|---|
| Sprue | Fill Speed | Long Cycle Time | |
| Runner | Pressure Balance | Hesitation Marks | |
| Gate | Surface Finish | Gate Vestige |
An efficient feed path ensures that every cavity receives the same material pressure for consistent part weight.
Which systems shape our injection mold components?
The molding system, consisting primarily of the cavity and core, is the specialized section that gives the final shape to all injection mold components. The cavity defines the external appearance and “A-side” finish, while the core creates the internal geometry and “B-side” features.
How do core and cavity differ?
In most molds, the cavity is the stationary side of the mold, while the core is the moving side that allows for part ejection. They must fit together with microscopic precision to create the void that the plastic fills.
- Cavity: Defines external aesthetics.
- Core: Defines internal structural features.
- Sliders: Handle side-action undercuts.
Tool steel grade, heat treatment, surface condition, loading, resin, and maintenance all influence insert wear and service life; no fixed cycle life should be assumed without project-specific requirements and validation.
Why are lifters necessary?
Look: if your part has internal undercuts, you need lifters to release those features before the part can be ejected. These components move at an angle to clear the geometry without damaging the plastic.
- Clears internal undercuts.
- Driven by the ejector plate.
- Requires precise draft angles.
Key Takeaway: The molding system is the “soul” of the mold, directly responsible for the dimensional accuracy and surface quality of your parts.
| Component | Function | Geometry Focus | |
|---|---|---|---|
| Mold Cavity | Front-side shaping | Aesthetics | |
| Mold Core | Back-side shaping | Structure | |
| Lifter | Undercut release | Internal detail |
This system requires the most significant investment in precision machining to ensure the final product meets your specifications.
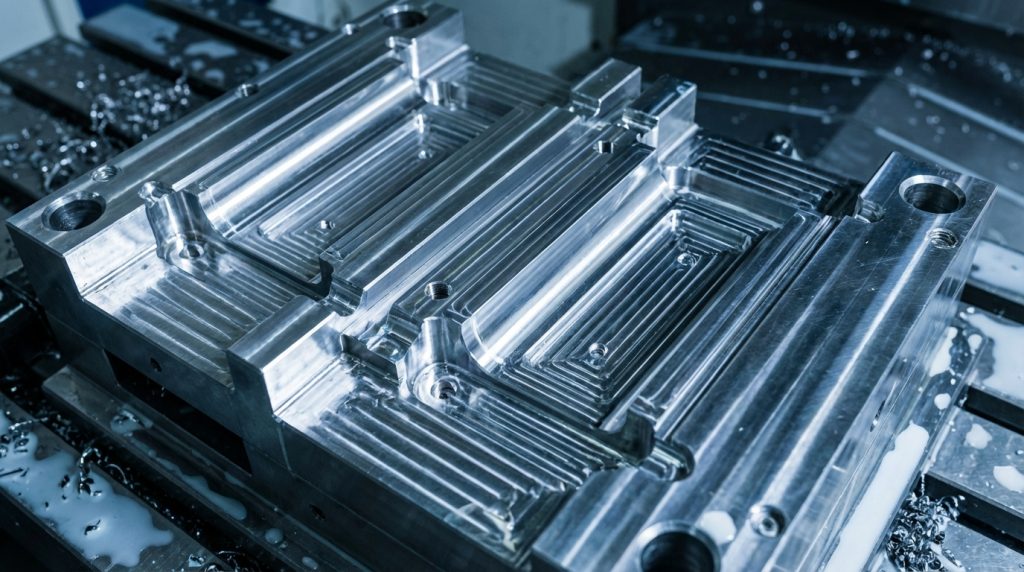
How do pins eject injection mold components?
Ejector pins transfer force from the ejector assembly to release a sufficiently cooled plastic part from the core. Their size, position, stroke, and timing are selected around the part geometry and acceptable witness marks.
How are pins designed?
Think about it: if you don’t have enough pins, or if they are in the wrong place, the part might bend or crack during ejection. You need to place them where the part is strongest, such as along ribs or bosses.
- Ejector Pins: Standard round pushing rods.
- Ejector Sleeves: Best for cylindrical parts.
- Return Pins: Ensure the system resets properly.
The best part? Standardized pins are easy to replace if they become worn or broken during high-speed runs.
What about part stress?
Here is the deal: excessive ejection force can cause “whitening” or stress marks on the plastic. A balanced ejection system ensures that the force is distributed evenly across the part’s surface.
- Uniform pressure is key.
- Draft angles reduce friction.
- Polished surfaces aid release.
Key Takeaway: A reliable ejection system prevents part damage and ensures that your machine can maintain a fast, continuous cycle.
| Ejection Part | Application | Advantage | |
|---|---|---|---|
| Standard Pin | General surfaces | Cost-effective | |
| Sleeve | Circular bosses | Even pressure | |
| Blade | Thin-walled ribs | Precise reach |
Selecting the right ejection method is crucial for maintaining the cosmetic integrity of your finished products.
Does cooling help all injection mold components?
Yes, the cooling system regulates the temperature of all injection mold components to ensure consistent solidification of the plastic material. This is typically achieved through a network of drilled channels, known as water lines, through which coolant or water circulates at a controlled temperature.
How does cooling impact cycles?
Cooling is often a substantial part of the molding cycle, but its share varies with resin, wall thickness, geometry, mold temperature, and process settings. Channel placement and flow should therefore be evaluated against the actual thermal load and validated during sampling. For a broader breakdown, see estimating molding cycle time.
- Baffles: Direct flow into deep cores.
- Bubblers: Cool narrow, tall features.
- Thermal Pins: Rapid heat transfer in tight spots.
Look: uneven cooling is the primary cause of warping and sink marks in molded parts.
Can cooling extend mold life?
Here is the deal: consistent temperature control reduces the thermal stress on the steel plates and inserts. This prevents the metal from expanding and contracting excessively, which can lead to fatigue or cracking over time.
- Stabilizes mold geometry.
- Protects surface finishes.
- Reduces mechanical wear.
Key Takeaway: Efficient cooling is not just about speed; it is about maintaining the thermal equilibrium required for high-quality production.
| Cooling Method | Best Use Case | Efficiency | |
|---|---|---|---|
| Standard Channels | Flat plates | Medium | |
| Baffles/Bubblers | Complex cores | High | |
| Conformal Cooling | Irregular shapes | Very High |
Advanced cooling strategies can be evaluated where conventional channels leave difficult hot spots; the business case depends on tooling cost, expected volume, part requirements, and validated cycle behavior.
Why do vents save your injection mold components?
Venting allows trapped air and gases to escape as molten plastic fills the cavity. Inadequate venting can contribute to burns, short shots, deposits, or local tool damage. The vent layout and dimensions must suit the resin, fill pattern, and mold design; see these injection mold venting checks.
Where should vents be placed?
Think about it: air will naturally be pushed to the last place the plastic fills. You must place vent grooves at the end of the fill paths and near knit lines to prevent defects.
- Parting Line Vents: The most common location.
- Ejector Pin Venting: Uses the pin clearance.
- Venting Plugs: Specialized porous inserts.
The best part? Good venting eliminates “diesel effect” burns and ensures the part fills completely.
How deep should vents be?
Here is the deal: if a vent is too deep, the plastic will flow into it and create “flash.” If it is too shallow, the air cannot escape fast enough, leading to air traps and short shots.
- Depth varies by resin viscosity.
- Width should be maximized.
- Regular cleaning prevents clogging.
Key Takeaway: Proper venting is the secret to achieving high-quality surface finishes and preventing costly damage to your mold inserts.
| Venting Type | Location | Target Problem | |
|---|---|---|---|
| Groove | Parting line | General air traps | |
| Pin Gap | Deep ribs | Vacuum prevention | |
| Porous Metal | Blind pockets | Gas burns |
Effective venting is a critical design detail that differentiates amateur tools from professional production molds.
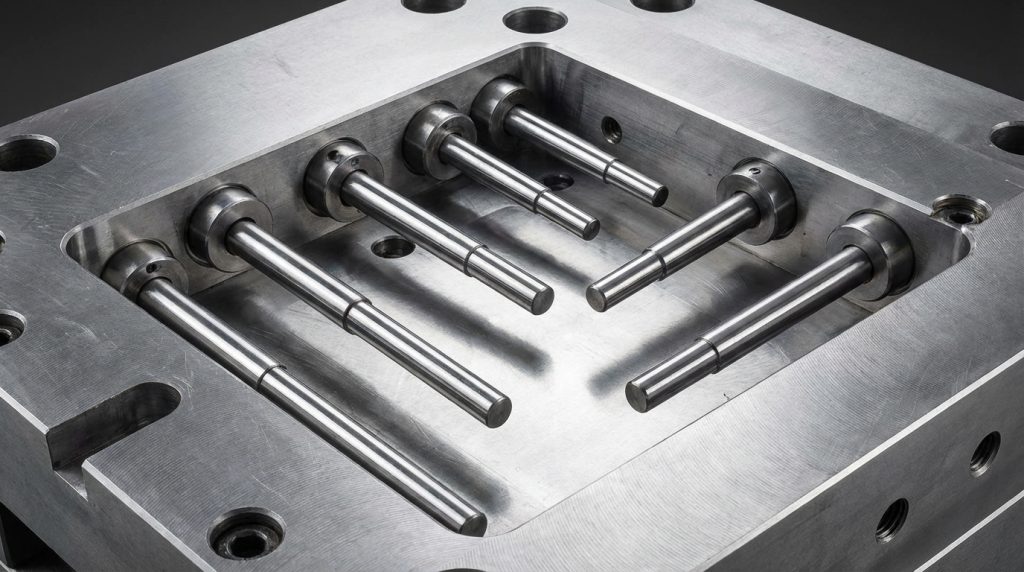
How do guide pins seat injection mold components?
Guide pins and bushings help align the two mold halves during closing. Their fit and condition support repeatable positioning, while final cavity alignment may also rely on interlocks and other locating features selected for the tool.
Why is alignment critical?
The acceptable alignment error is project-specific and depends on the part geometry, shutoffs, wall transitions, and critical dimensions. Guide pins support initial alignment as the mold closes, while the full locating system protects molding surfaces and controls final position.
- Guide Pins: Hardened steel pillars.
- Bushings: Mating wear-resistant guide holes.
- Interlocks: Provide additional side-load support.
Look: without these, your mold inserts would quickly deteriorate due to repetitive misalignment.
How do they handle wear?
Here is the deal: because these parts move against each other constantly, they are designed to be replaceable wear items. Using self-lubricating bushings can reduce maintenance requirements and prevent galling.
- Requires regular lubrication.
- Hardness must exceed plate steel.
- Lead-in chamfers aid entry.
Key Takeaway: The guiding and locating system supports repeatable closing, but service life depends on the tool design, materials, molding conditions, lubrication, and maintenance.
| Alignment Part | Function | Material | |
|---|---|---|---|
| Guide Pin | Primary direction | SUJ2 Hardened Steel | |
| Guide Bushing | Precise mating | Bronze/Steel | |
| Side Lock | High-clamping stability | Hardened Steel |
Proper maintenance of the guiding system is non-negotiable for anyone looking to achieve long-term manufacturing consistency.
What are the injection mold parts names and functions?
The injection mold parts below appear in most small and medium molds. Names vary slightly between HASCO, Meusburger, DME and LKM catalogs, but the functions are the same. Standard mold component dimensions are also covered by ISO standards.
| Injection mold part | Function |
|---|---|
| Top clamping plate | Mounts the fixed half to the press |
| A plate (cavity plate) | Holds cavity inserts |
| B plate (core plate) | Holds core inserts |
| Support plate | Stiffens the B plate |
| Spacer blocks | Make room for ejector travel |
| Ejector plates | Carry ejector pins and sleeves |
| Sprue bushing and locating ring | Center the mold on the nozzle |
| Runner and gates | Feed melt to each cavity |
| Ejector pins and sleeves | Push the part off the core |
| Slides and lifters | Release undercuts |
| Guide pins and bushings | Align the two halves |
| Cooling channels | Remove heat from the steel |
For example, when a supplier quotes “S50C base, 718H A/B plates, H13 inserts”, the A and B plates and the inserts are the parts that form the product. Read more in our guides to mold base, ejector pins and core pins.
Key Takeaway: In short, knowing the injection mold parts names makes mold specifications and repair reports easier to read.
Ready to optimize your injection mold components?
Reviewing injection mold components as connected structural, flow, thermal, and ejection systems helps identify risks before tooling decisions are finalized. Priorities should follow the part requirements, expected volume, resin, machine, and maintenance plan.
WOKE Molds supports mold engineering and manufacturing through a delivery network selected around project requirements. The proposed tool architecture, DFM scope, manufacturing route, validation plan, and quality records should be agreed for each project rather than inferred from a general capability statement.
If you have a part design, resin, volume estimate, and critical requirements, contact us to discuss the appropriate engineering and quotation scope for your project.
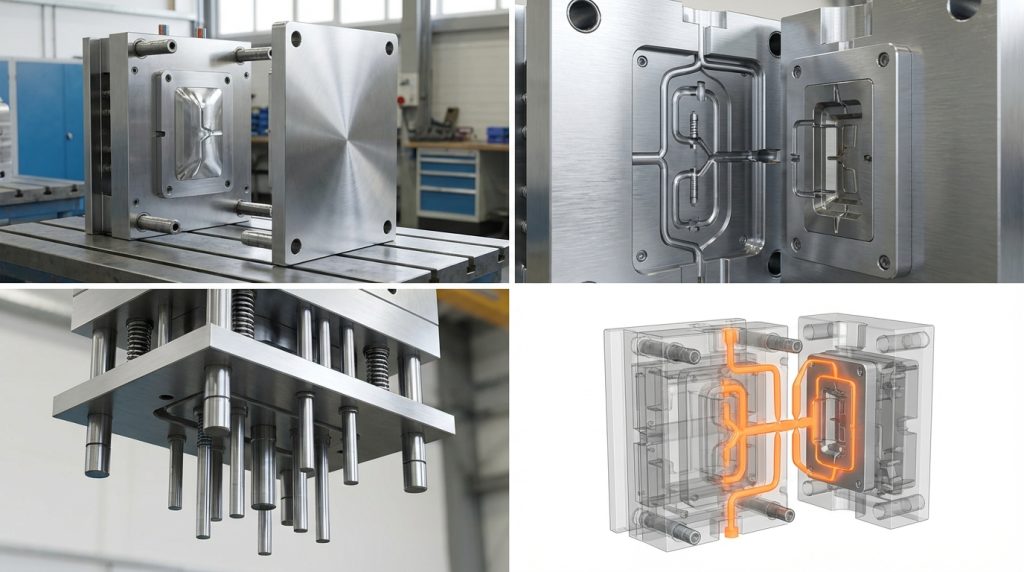
Any questions on these injection mold components?
Can I replace individual components if they break?
Yes, most professional molds are designed with modular inserts and standardized pins to allow for easy replacement. This modularity ensures you don’t have to rebuild the entire tool if a specific rib or pin fails during production.
How often should I lubricate guide pins?
Lubrication frequency should follow the component and tool documentation, molding conditions, lubricant compatibility, and observed wear or contamination. Appropriate lubrication and inspection help limit friction, galling, and avoidable damage.
Can cooling lines be added after the mold is made?
It is difficult and expensive because the cooling path must avoid all pins, screws, and sliders. Proper thermal management should be finalized during the initial DFM and design phase to ensure maximum efficiency.
Why does my mold have black spots on the part?
This is usually caused by inadequate venting, where trapped air burns the plastic due to high compression. Increasing the vent depth or adding more vents along the parting line typically solves this issue.
Do I need sliders for every undercut?
Not necessarily, as some external undercuts can be handled by “stripper” plates or simplified mold actions. However, for complex side features, sliders are the most reliable way to ensure the part releases without deformation.