
Mold Temperature Controller: Types, Sizing and Setup
A mold temperature controller (often called a mold temperature control unit, TCU or “thermolator”) circulates water or oil through the cooling channels of an injection mold to hold it at a set temperature. Mold temperature affects cycle time, shrinkage, warpage, gloss, weld lines, crystallinity and dimensional stability, so the controller is as important to part quality as the molding machine itself.
Many molding problems blamed on the process are really mold temperature problems. For example, a mold that drifts 10 °C during a shift because the controller is undersized can change part dimensions and gloss without any change in machine settings. In this guide, we explain the mold temperature controller: types, how to choose capacity, water vs oil units, how controllers connect to cooling circuits, how to set and monitor temperatures, maintenance and what to specify. For cooling design, see our guide to mold cooling channel design.
A mold temperature controller heats or cools a circulating fluid to hold mold surfaces at a set temperature. Water units typically cover about 30–90 °C (pressurized water up to about 140–180 °C), while oil units reach about 200–350 °C for high-temperature resins. Selection depends on required temperature, heating and cooling capacity, flow rate and pressure for the mold’s circuits. Good practice includes separate controllers or zones for core and cavity when needed, correct hose and manifold connections, flow and temperature monitoring, and regular maintenance to prevent scale and leaks.
In short: choose the controller for temperature range and flow, connect circuits correctly and monitor actual mold temperature.
Key points:
- Water units: most commodity and engineering resins.
- Oil units: high-temperature resins.
- Flow: turbulent flow in every circuit.
What Does a Mold Temperature Controller Do?
A mold temperature controller holds the mold at a stable temperature by heating or cooling a circulating fluid.
Functions:
- Heats the mold at startup and maintains temperature
- Cools by removing process heat through a heat exchanger
- Pumps fluid through mold circuits
- Controls temperature with sensors and PID control
- Alarms for overheat, low flow or low level
For example, a PC part may need a mold surface around 80–100 °C for good surface and low stress, which a chiller alone cannot provide. Our guide to practical mold cooling explains cooling basics.
Key Takeaway: Above all, the controller sets the thermal conditions the part is molded under.
Which Types of Mold Temperature Controller Exist?
Types of mold temperature controller differ by fluid and temperature range.
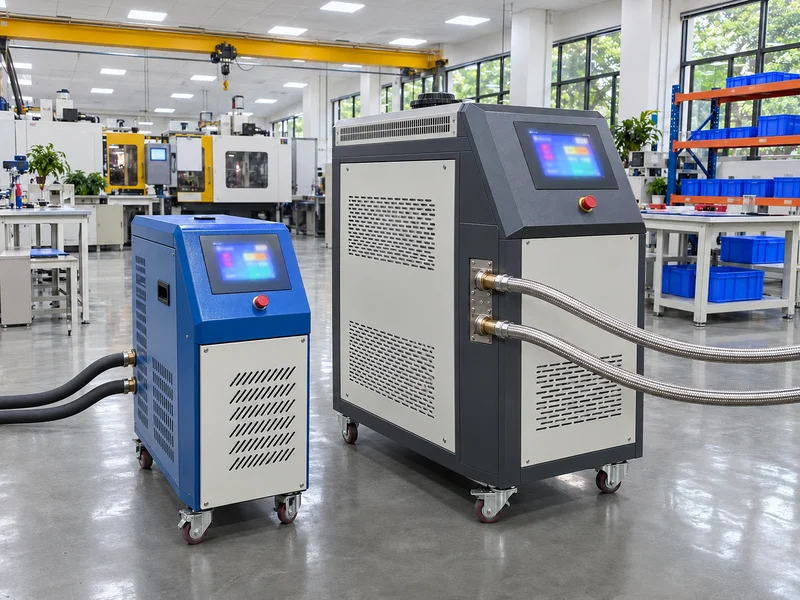
| Type | Typical range | Typical resins |
|---|---|---|
| Chiller (cold water) | about 5–30 °C | PP, PE, thin-wall commodity parts |
| Water TCU (open) | about 30–90 °C | ABS, PA, POM, PBT |
| Pressurized water TCU | up to about 140–180 °C | PC, PA-GF, PPS (lower range) |
| Oil TCU | about 150–350 °C | PEEK, PPS, LCP, PEI |
For example, a PPS connector mold at 140 °C can run on a pressurized water unit or an oil unit, while PEEK at 180–200 °C usually needs oil. Our guide to high temperature injection molding explains hot molds.
Key Takeaway: In other words, the resin’s mold temperature decides the controller type.
How Do You Choose Mold Temperature Controller Capacity?
You choose mold temperature controller capacity from heating power, cooling capacity, pump flow and pressure.
Considerations:
- Heating power to reach temperature in reasonable time
- Cooling capacity to remove heat from each shot
- Pump flow for turbulent flow in all circuits
- Pump pressure to overcome circuit resistance
- Number of zones for core and cavity separation
For example, a multi-cavity mold with many small circuits may need a high-pressure pump to keep flow in every channel. Our guide to multi-cavity injection molding explains circuit balance.
Key Takeaway: For this reason, size for the hardest circuit, not the average.
How Should Controllers Connect to Mold Circuits?
Controllers should connect to mold circuits so each circuit gets the intended flow and temperature.
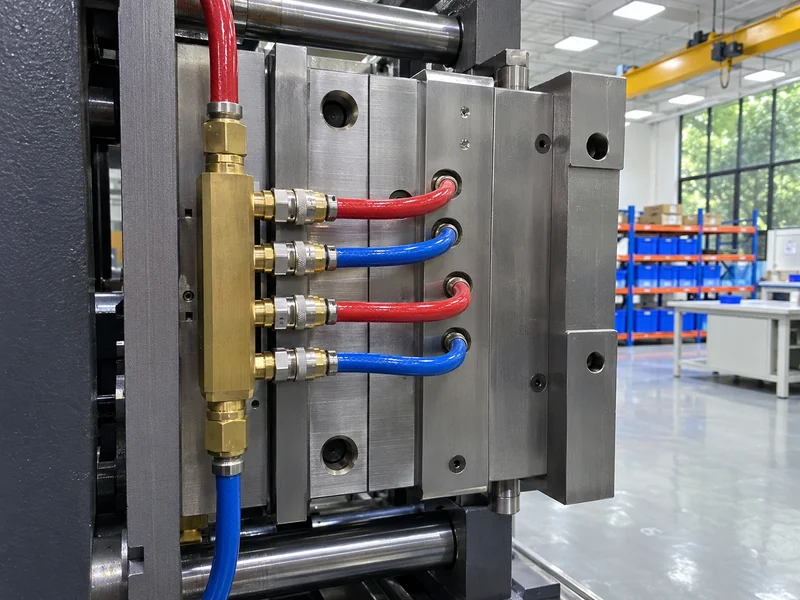
Good practice:
- Separate core and cavity when they need different temperatures
- Manifolds with flow indicators for multiple circuits
- Correct hose size and length; avoid long thin hoses
- Series vs parallel circuits chosen deliberately
- Labeled connections matching the mold’s cooling map
For example, connecting a long series circuit through a small hose may give laminar flow and poor cooling at the end. Splitting it into parallel circuits with a manifold helps. Our guide to mold cooling channel design covers cooling maps.
Key Takeaway: Overall, connection layout matters as much as controller settings.
How Should Mold Temperatures Be Set and Monitored?
Mold temperatures should be set from the resin supplier’s range and monitored on the mold surface.
Practice:
- Start from the recommended range for the resin
- Measure actual mold surface temperature with a probe or sensors
- Record supply and return temperatures
- Monitor flow in each circuit
- Keep settings in the process sheet
For example, a controller set to 80 °C may give only 70 °C at the cavity surface if flow is low. Measuring the surface reveals it. Our guide to scientific molding explains process records.
Key Takeaway: Equally, the mold surface temperature is what the part sees, not the controller setpoint.
How Should Mold Temperature Controllers Be Maintained?
Mold temperature controllers should be maintained to prevent scale, leaks and drifting control.
Maintenance:
- Water treatment to prevent scale and corrosion
- Filter cleaning
- Hose and fitting checks for leaks and wear
- Heater and pump checks
- Sensor calibration
- Oil change for oil units
For example, scale buildup in mold channels and controller heat exchangers gradually reduces cooling and lengthens cycles. Our guide to maintenance of molds covers cooling channel cleaning.
Key Takeaway: As a rule, maintain water quality to keep both mold and controller efficient.
What Should Be Specified About Mold Temperature Control?
Mold temperature control should be specified with temperature ranges, circuits and records.
Specification items:
- Mold temperature range for core and cavity
- Controller type (water, pressurized water, oil)
- Cooling circuit map and connection plan
- Flow and temperature records at trial
- Connector standards for the customer’s plant if the mold will transfer
For example, a mold handover document listing “cavity 90 °C, core 80 °C, pressurized water, circuits 1–6 per map” makes production setup repeatable. Our injection mold manufacturing team supplies cooling maps with molds. Machine-mold interface standards are published by EUROMAP.
Key Takeaway: Finally, include temperature settings and the cooling map in mold documentation.
FAQ
- Q: What is a mold temperature controller?
- A unit that heats or cools circulating fluid to hold an injection mold at a set temperature.
- Q: What is the difference between water and oil controllers?
- Water units cover lower temperatures; oil units reach about 200–350 °C for high-heat resins.
- Q: Why does mold temperature matter?
- It affects cycle time, shrinkage, warpage, gloss and dimensional stability.
- Q: Should core and cavity use separate controllers?
- Often yes, when they need different temperatures or the part tends to warp.
- Q: How is mold temperature checked?
- By measuring the mold surface and recording supply and return temperatures.
Conclusion
A mold temperature controller sets the thermal conditions that shape part quality. Choose type and capacity for the resin and circuits, connect circuits correctly, monitor actual mold temperatures and maintain the system. To review a mold or molding process, send your 3D model and 2D drawing to our engineers.