
Short Shot Injection Molding: Causes and Related Defects
Short shot injection molding defects are parts that are not completely filled. Ribs, corners or the end of flow are missing. The quick reaction is to raise injection pressure, but that often treats the symptom and creates new problems such as flash, burn marks or stress. A short shot injection molding problem should be investigated first, because its causes range from material feed and venting to gate freeze and machine limits.
Related defects often share the same root causes. For example, trapped air at the end of flow can cause a short shot on one part and a burn mark on the next. Degraded material can cause both black specks and voids. In this guide, we explain how to investigate a short shot injection molding problem before raising pressure, and how burn marks, black specks, bubbles, voids and delamination point to the real cause. For general defects, see our guide to injection molding defects and troubleshooting.
A short shot injection molding defect occurs when the melt freezes or stops before the cavity is full. Common causes are insufficient shot size or cushion, trapped air from poor venting, a gate or runner that freezes too early, low melt or mold temperature, injection that is pressure-limited, blocked nozzles or gates, and material feed problems. Before raising pressure, check cushion, fill-only short shots, vent condition, pressure at transfer and material drying. Burn marks point to trapped air, black specks to degraded material, voids to poor packing and delamination to contamination or incompatible material.
In short: check shot size, venting, freezing and pressure limits before adding pressure, and use related defects as clues.
Key points:
- Investigate first: cushion, vents, temperatures and pressure limit.
- Clues: burns, specks, voids and delamination point to causes.
- Fix the cause: pressure is rarely the root fix.
What Causes Short Shot Injection Molding Defects?
Short shot injection molding defects happen when the melt cannot reach the end of the cavity before it freezes or stops.
Common causes:
- Not enough material: shot size too small, cushion at zero, feed problems
- Trapped air: vents blocked or too shallow
- Early freezing: thin walls, small gates, low melt or mold temperature
- Pressure-limited fill: the machine reaches its pressure limit
- Restrictions: blocked nozzle, gate or hot runner tip
- Machine issues: worn check ring, slow response
For example, a short shot that appears at the same corner every time, far from the gate, often points to trapped air. A short shot that varies randomly often points to feed or check ring problems. Our guide to injection mold venting explains vents.
Key Takeaway: A repeatable short shot points to the tool or process; a random one points to material or machine.
How Do You Investigate a Short Shot Injection Molding Problem?
You investigate a short shot injection molding problem with a short sequence of checks that rule out causes one by one.
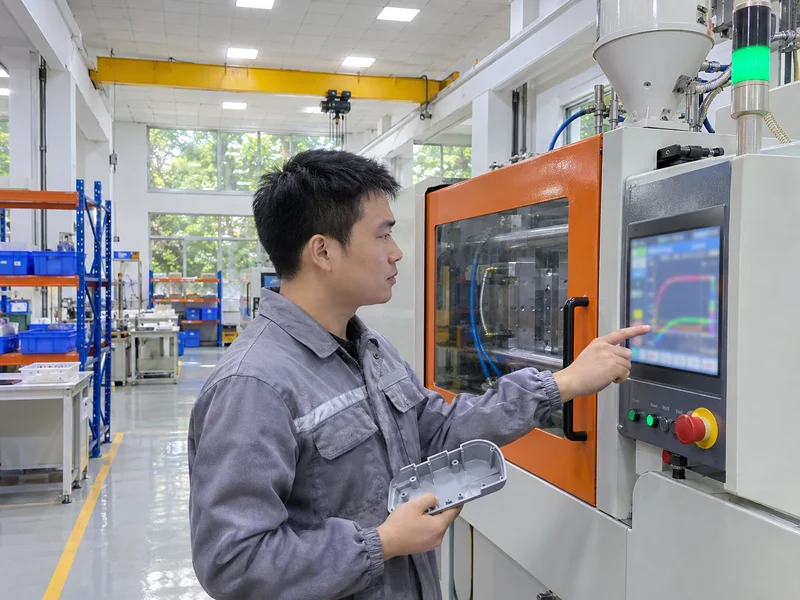
Investigation steps:
- Check cushion: if it is zero, increase shot size or fix the check ring.
- Check pressure at transfer: if it hits the limit, the fill is pressure-limited.
- Run fill-only shots to see the flow front and where filling stops.
- Inspect vents at the last-to-fill areas.
- Check temperatures: melt, mold and hot runner zones.
- Check material: drying, regrind ratio and feed.
- Check gates and nozzles for blockage.
For example, if cushion is stable, pressure is below the limit and the short shot stays at one corner, vent cleaning is the likely fix. Our guide to decoupled molding explains cushion and transfer pressure.
Key Takeaway: Record cushion and transfer pressure before changing settings. They separate machine from tool causes.
What Do Burn Marks Tell You About a Short Shot?
Burn marks tell you that air is trapped and compressed at the end of fill, heating until it scorches the plastic. They often appear in the same place as short shots.
Signs and fixes:
- Dark or black marks at the end of flow or around ribs
- Often with short shots at the same location
- Fix: clean or deepen vents, add vent pins, reduce injection speed at the end of fill
For example, a part that shows burns at one corner and occasional short shots there needs a vent at that corner. Raising pressure only compresses the air harder and makes burns worse. Our guide to injection molding flash explains how vent depth must balance against flash.
Key Takeaway: Burn marks plus short shots in the same place almost always mean venting.
What Do Black Specks Tell You?
Black specks tell you that degraded material or contamination is entering the part.
Common sources:
- Degraded resin from overheating or long residence time
- Dead spots in the barrel, nozzle or hot runner
- Contaminated regrind or dirty handling
- Worn screw or check ring holding material
For example, black specks that increase after a machine stop usually come from material that degraded in the barrel during the stop. Purging and checking the screw solve it. If specks appear with short shots, a partly blocked nozzle may be releasing degraded material. Our guide to splay in injection molding explains related degradation marks.
Key Takeaway: Black specks point to heat history or contamination. Check residence time and cleanliness.
How Do You Tell Bubbles From Voids?
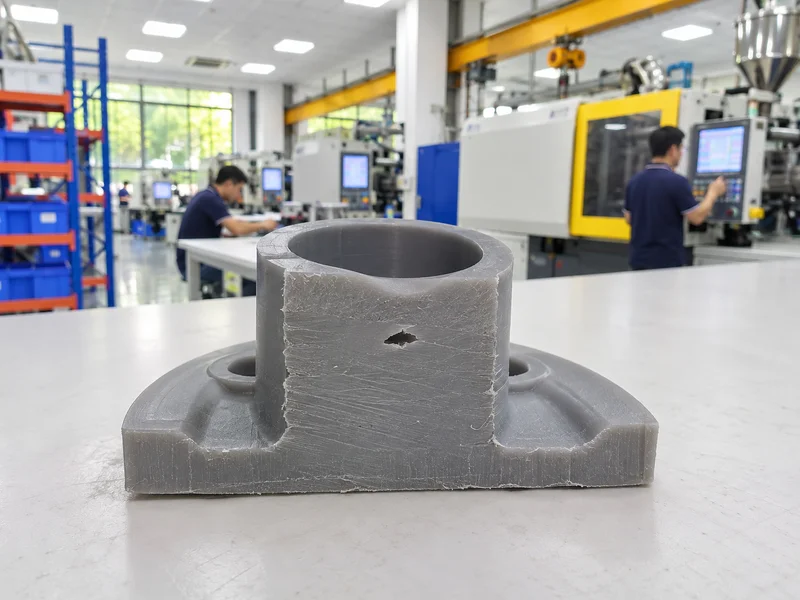
You tell bubbles from voids by their cause: bubbles are gas trapped in the melt, while voids are vacuum holes formed when thick sections shrink without enough packing.
| Feature | Gas bubbles | Shrinkage voids |
|---|---|---|
| Cause | Moisture, volatiles, trapped air | Insufficient packing in thick sections |
| Location | Anywhere, often near flow front | Center of thick sections |
| Surface | Sometimes splay or blisters | Often sink marks above |
| Fix | Drying, venting, lower melt temperature | More pack, longer hold, thinner walls |
For example, a void in the center of a thick boss with a sink mark above it is a packing problem, not a moisture problem. Our guide to sink marks explains packing and wall design.
Key Takeaway: Cut the part open. The location and shape of the hole tell you which problem you have.
What Does Delamination Tell You?
Delamination tells you that the part’s surface layers are not bonding to the core. It shows as peeling or flaking skin.
Common causes:
- Contamination with an incompatible resin
- Moisture in some resins
- Too low melt or mold temperature
- Excessive mold release
For example, PP contamination in an ABS part often causes flaky surfaces near the gate. Purging and checking material handling fix it. Material compatibility data are published by resin suppliers, and test methods for plastics are described by bodies such as ISO.
Key Takeaway: Delamination is usually contamination. Check the last materials run on the machine.
How Do You Prevent Short Shot Injection Molding Defects in Production?
You prevent short shots in production by monitoring the signals that warn of them and maintaining vents and machines.
Prevention steps:
- Cushion monitoring with alarms
- Transfer pressure monitoring against limits
- Part weight checks at set intervals
- Vent cleaning in the maintenance plan
- Drying records for sensitive resins
- Check ring inspection on a schedule
For example, a slowly falling cushion over several days may warn of a worn check ring before short shots appear. Our guide to control plan shows how to put these checks into a plan.
Key Takeaway: Monitor cushion and part weight. They warn of short shots before customers see them.
FAQ
- Q: What is a short shot in injection molding?
- A part that is not completely filled because the melt stopped or froze before reaching the end of the cavity.
- Q: Should I increase injection pressure to fix a short shot?
- Only after checking cushion, venting, temperatures and pressure limits. Pressure often hides the real cause.
- Q: Why do burn marks and short shots appear together?
- Trapped air at the end of fill both blocks filling and overheats, leaving burns.
- Q: What causes black specks?
- Degraded material from overheating, dead spots or contamination.
- Q: What is the difference between bubbles and voids?
- Bubbles are trapped gas; voids are shrinkage holes in thick sections due to insufficient packing.
Conclusion
A short shot injection molding problem should be investigated before pressure is raised. Check cushion, transfer pressure, vents, temperatures and material, and use burns, specks, voids and delamination as clues. To review a defect on your part, send your 3D model and 2D drawing to our engineers.
Planning a part like this? See our plastic injection molding service, or send your drawing for a free DFM review.