
Injection Molding Automation: Robots, Inserts, Inspection
Injection molding automation is the use of robots, conveyors, insert loaders, vision systems and in-line equipment to remove, handle, inspect and pack molded parts with little or no manual work. It improves cycle consistency, protects cosmetic surfaces, lowers labor cost and makes quality more repeatable, especially for high volume parts and insert molding.
Automation pays off only when the part, mold and volume justify it. For example, a sprue picker costs little and helps almost every cold runner mold, while a six-axis robot cell with insert loading and vision inspection makes sense for a connector running millions of parts a year. In this guide, we explain injection molding automation: equipment types, part removal, insert loading, in-line inspection, downstream steps, when it pays off and how to plan it. For volume planning, see our guide to high volume injection molding.
Injection molding automation ranges from simple sprue pickers and conveyors to Cartesian take-out robots, six-axis robots, insert and label loading, vision inspection, degating, assembly, ultrasonic welding and automatic packing. Benefits are stable cycle times, less part damage, lower labor cost and better traceability. Costs include equipment, end-of-arm tooling, mold features for automation and engineering time. It pays off at higher volumes, for insert molding, for parts that are hard to handle by hand and when consistent cycle time affects quality.
In short: automate where it stabilizes quality or cuts cost per part, not by default.
Key points:
- Basic level: sprue picker, robot take-out, conveyor.
- Advanced level: insert loading, vision, assembly, packing.
- Decision: volume, part handling and quality needs.
What Equipment Is Used in Injection Molding Automation?
Injection molding automation uses equipment that matches the part and the cell layout.
| Equipment | Typical job |
|---|---|
| Sprue picker | Removes cold runners and sprues |
| Cartesian take-out robot | Picks parts from the mold onto a conveyor |
| Six-axis robot | Complex handling, insert loading, assembly |
| Conveyor | Moves parts to cooling, inspection or packing |
| Vision system | Checks presence, dimensions or defects |
| Degating station | Separates parts from runners |
| Auto packing | Counts and packs parts |
For example, a Cartesian robot with a vacuum gripper can place cosmetic covers face up on a conveyor so they never drop into a bin. Our plastic injection molding page describes our production route.
Key Takeaway: Above all, start from the part and its handling risk when choosing equipment.
How Does Automated Part Removal Improve Quality?
Automated part removal improves quality by keeping the cycle constant and protecting parts.
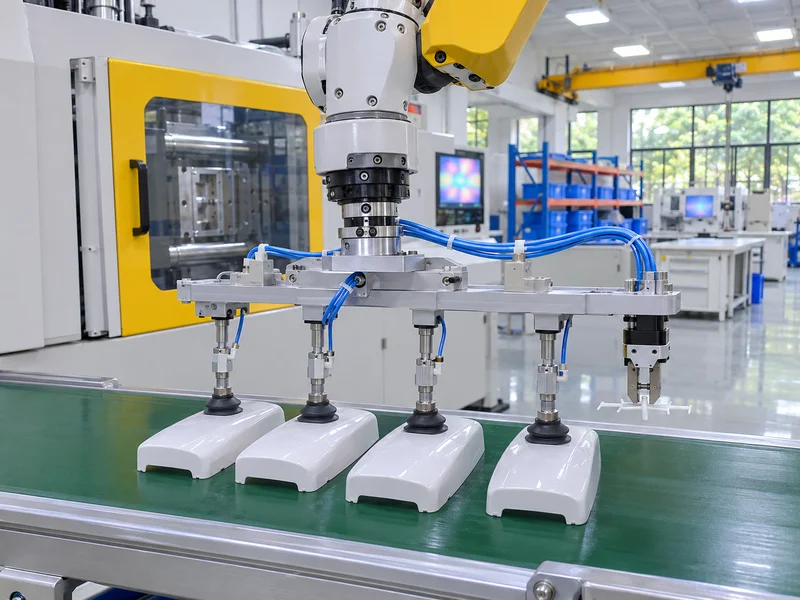
- Constant cycle time: stable mold temperature and dimensions
- No drop damage on cosmetic surfaces
- Separation by cavity for traceability
- Gentle handling of thin or warm parts
- Less contact with hands and dust
For example, a clear PC lens dropped into a bin can scratch, while a robot placing it into a tray keeps it clean. Our guides to clear plastic injection molding and estimating molding cycle time explain why steady cycles matter.
Key Takeaway: In other words, a constant cycle is often the biggest quality gain from automation.
How Is Insert Loading Automated?
Insert loading is automated with feeders, robots and grippers that place metal parts into the mold.
| Step | Automation |
|---|---|
| Feeding | Vibratory bowls or tape feeders orient inserts |
| Preheating | Heating station for metal inserts |
| Loading | Robot places inserts on mold pins or in nests |
| Checking | Sensors confirm inserts are present |
| Removal | Robot removes the molded part |
For example, a terminal block with eight brass inserts can be loaded by a robot in a few seconds, with sensors stopping the press if one insert is missing. Our guides to insert molding process and metal insert molding explain the process.
Key Takeaway: For this reason, insert molding is one of the strongest cases for automation.
How Is In-Line Inspection Done?
In-line inspection is done with sensors and cameras at the press or on the conveyor.
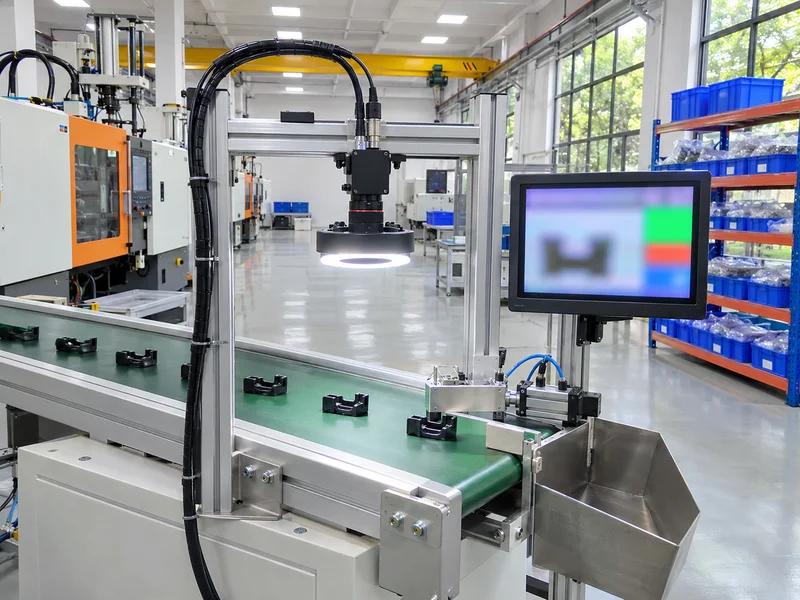
- Cavity pressure sensors for fill and pack consistency
- Vision cameras for short shots, flash and missing features
- Weight checks for each shot
- Measurement stations for key dimensions
- Reject gates that divert suspect parts
For example, a camera checking a clip for a broken latch can reject one bad part instead of a whole box. Our guides to short shot injection molding and process capability Cpk explain the defects and statistics behind it.
Key Takeaway: Overall, in-line checks catch problems shot by shot instead of lot by lot.
Which Downstream Steps Can Be Automated?
Several downstream steps after molding can be automated in the same cell.
- Degating and runner separation
- Ultrasonic welding and heat staking
- Assembly of two or more parts
- Laser marking of codes and logos
- Counting and packing into trays or bags
For example, a cell can mold, laser mark and pack a part with its lot code in one flow. Our guides to ultrasonic welding plastic, heat staking plastic and laser marking plastic cover these steps. Robot safety follows ISO 10218.
Key Takeaway: Equally, combining steps in one cell reduces handling and mix-ups.
When Does Injection Molding Automation Pay Off?
Injection molding automation pays off when savings and quality gains exceed its cost.
| Pays off | May not pay off |
|---|---|
| High annual volume | Short runs and many changeovers |
| Insert or label loading | Simple parts that drop safely |
| Cosmetic or fragile parts | Large parts with low volume |
| Long cycle stability needs | Tooling still changing |
| High labor cost region | Very low labor share of cost |
For example, a robot on a press running 3 shifts for a year can repay its cost quickly, while the same robot on a 2,000-piece order may not. Our guide to how to estimate injection molding cost shows how labor affects cost.
Key Takeaway: As a rule, calculate automation cost per part over the real production volume.
How Should Injection Molding Automation Be Planned?
Injection molding automation should be planned together with the part and mold design.
- Define volume, cycle and quality targets
- Design the mold for automation: gripping areas, ejection, sprue position
- Choose equipment and end-of-arm tooling
- Plan inserts, inspection and packing
- Trial the cell with the production mold
- Validate cycle, quality and safety
For example, adding flat gripping pads on a part’s inner ribs at the design stage makes robot pick-up reliable. Our Engineering & DFM page explains how automation needs are reviewed per project.
Key Takeaway: Finally, plan automation at DFM, because the mold decides how easily parts can be handled.
FAQ
- Q: What is injection molding automation?
- Robots and equipment that remove, handle, inspect and pack molded parts.
- Q: What is the simplest automation for molding?
- A sprue picker or a Cartesian take-out robot with a conveyor.
- Q: Does automation improve quality?
- Yes, mainly through constant cycle times and less part handling.
- Q: Is automation worth it for small orders?
- Often not, unless parts are fragile or need insert loading.
- Q: Can insert loading be automated?
- Yes, with feeders, robots and sensors that check every insert.
Conclusion
Injection molding automation improves consistency and cost per part when it is matched to volume, part handling and quality needs, and planned with the mold. Start with the part, then choose the equipment. To review automation for your part, send your 3D model and 2D drawing to our engineers.